Enable root login over SSH in linux

Secure Shell (SSH) is a powerful tool for accessing remote systems securely over an encrypted connection. Enabling SSH on a Linux system allows you to remotely manage it, transfer files, and execute commands with enhanced security. In this guide, we'll walk through the steps to enable SSH login on a Linux-based operating system.
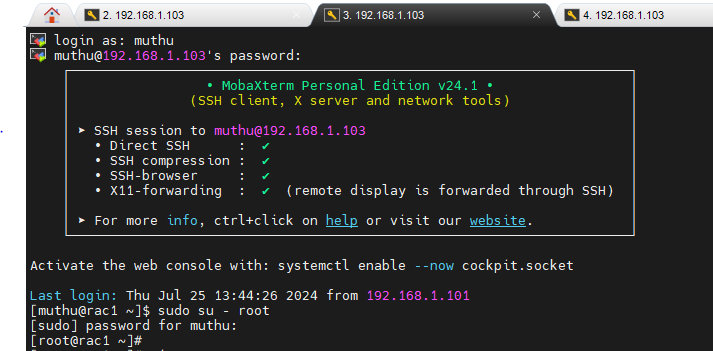
Step 1: Login as root user as shown below screenshot

Step 2: Configure SSH Server
Edit SSH Configuration File: The SSH server configuration file is usually located at /etc/ssh/sshd_config. Open it with a text editor.
sudo vi /etc/ssh/sshd_config

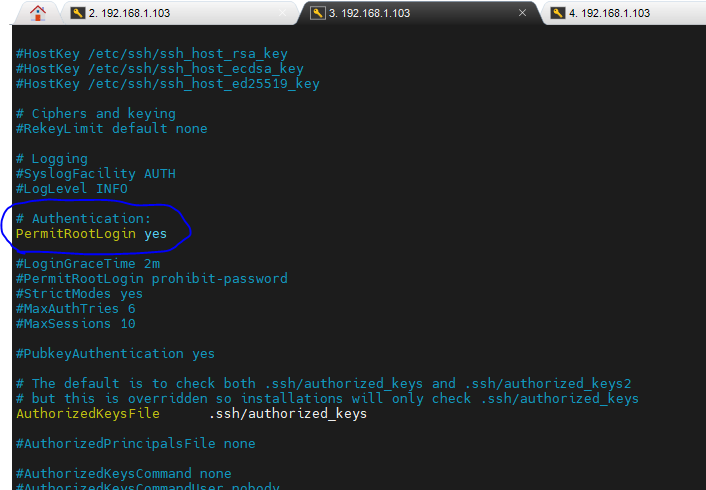
Ensure SSH Service is Enabled: Look for the line PermitRootLogin and set it to no to disable root login if it's not already set. This enhances security by preventing direct root logins:
PermitRootLogin yes

Allow SSH Access for Users: If you want to allow SSH access to specific users (besides the root user), add or verify that AllowUsers is set correctly:
AllowUsers username1 username2
Replace username1, username2, etc., with the actual usernames you want to allow.
Save and Close the File: After making any changes, save the file and exit the text editor.
Step 3: Restart the SSH server
systemctl restart sshd
or
service sshd restart

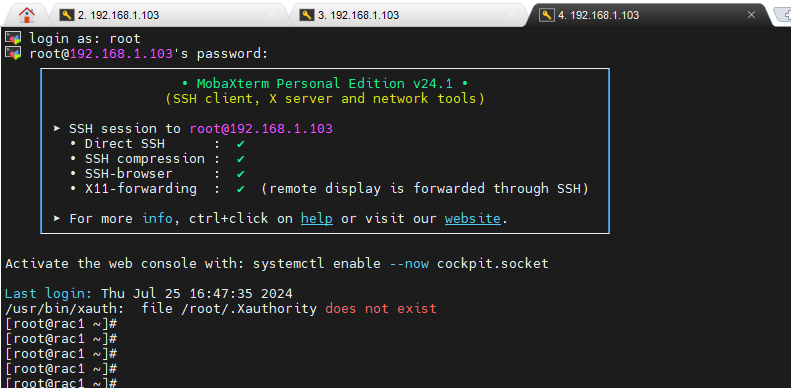
That’s it! With the new line added and the SSH server restarted, you can now connect via the root user.

Conclusion:
Enabling SSH on Linux involves configuring the SSH server, ensuring necessary firewall rules are in place, and testing the connection. By following these steps, you can securely access and manage your Linux system remotely. SSH provides a robust way to administer servers and transfer files, making it an essential tool for system administrators and developers alike. Remember to keep your SSH configuration secure by disabling root login and restricting access to authorized users only.